Materials Needed:
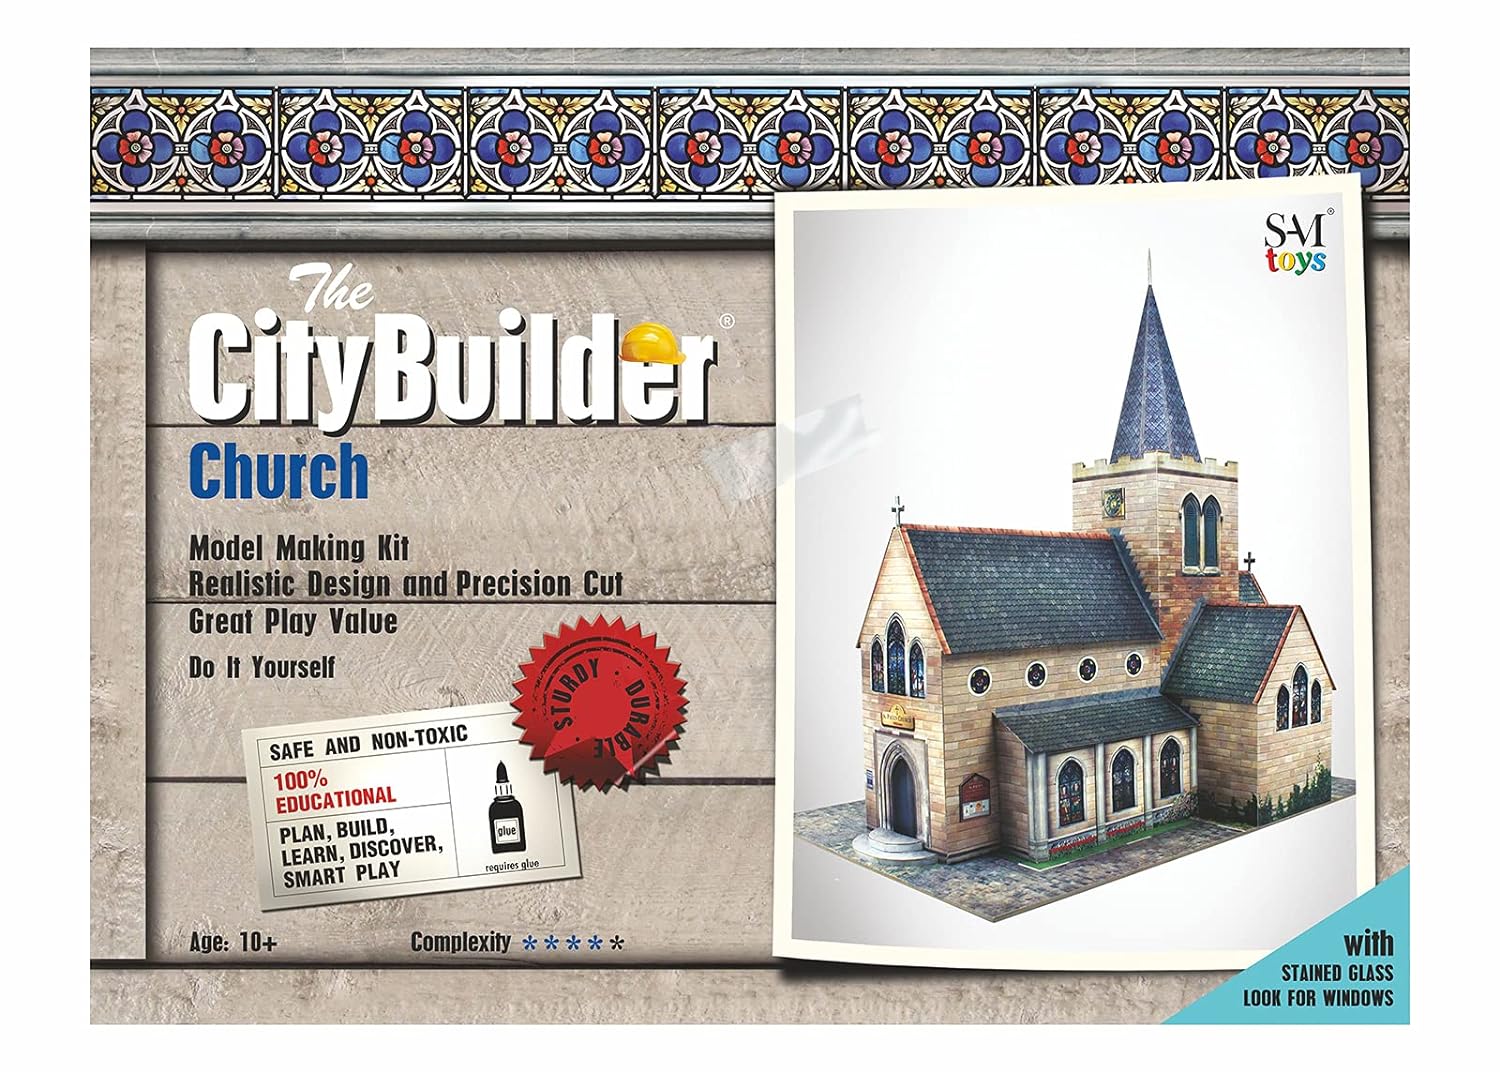
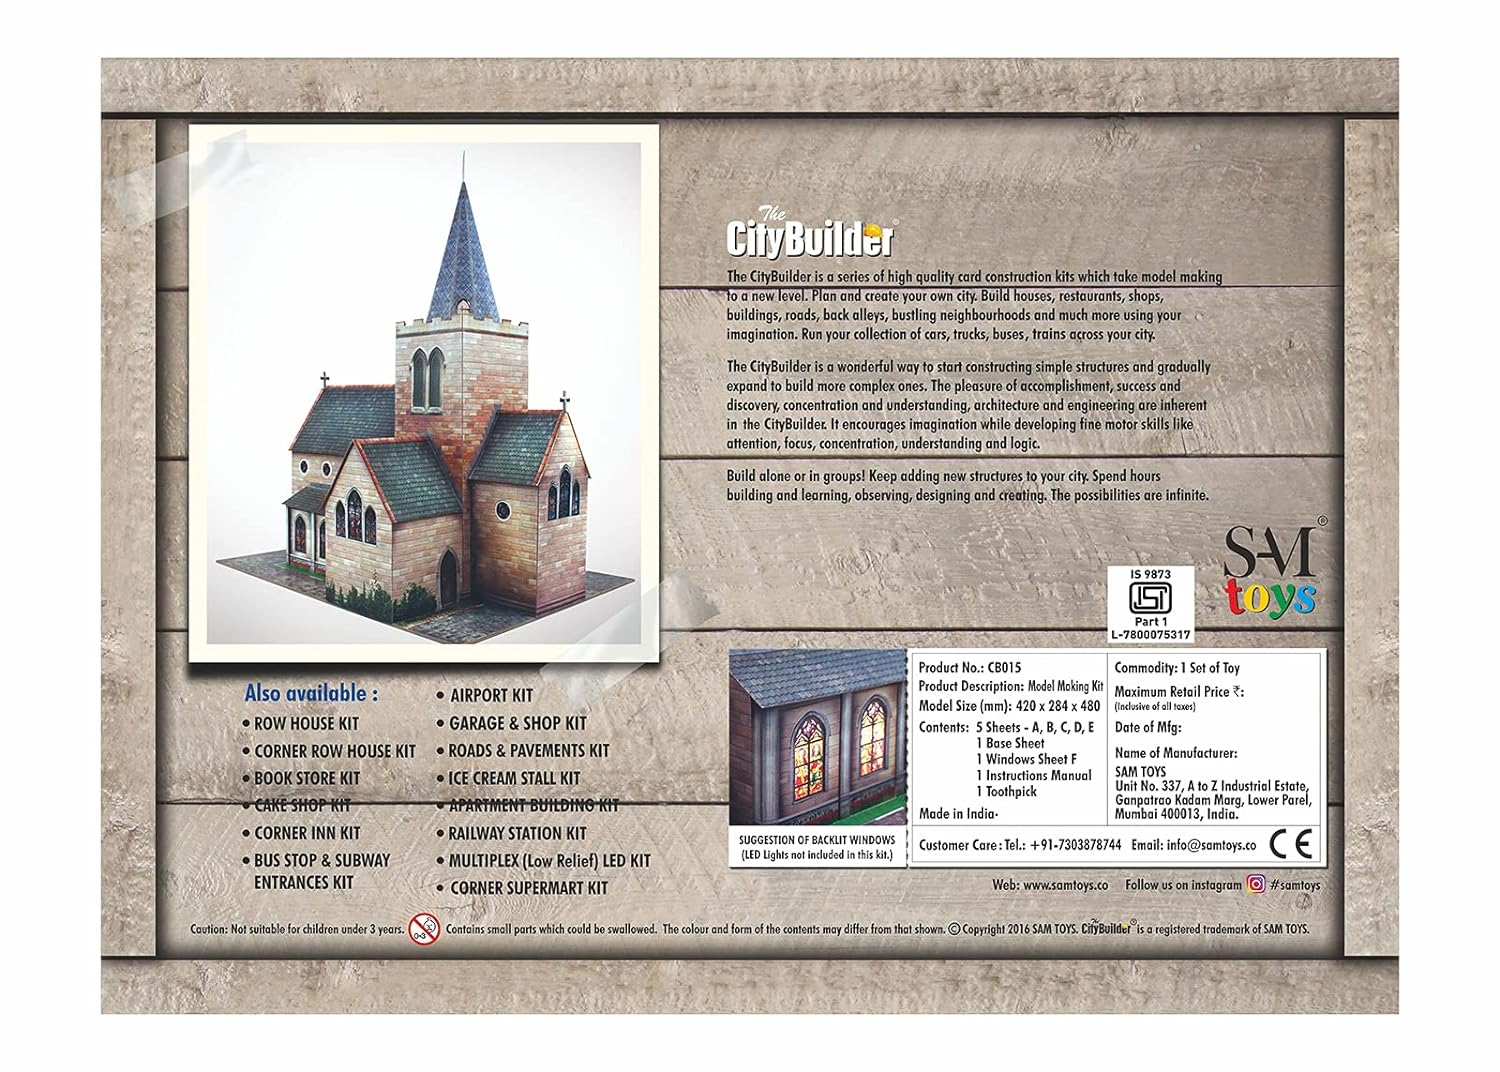
- Self-assembly card model kit
- Glue
- Craft knife
- Steel rule
- Optional: Paints, brushes, and other detailing tools
Step 1: Organize Your Kit Carefully open the kit and organize the pieces. Lay them out on a clean surface, ensuring that all components are accounted for.
Step 2: Cutting Using a craft knife and steel rule, gently cut out each piece from the card. Take your time to ensure clean edges, especially for intricate details.
Step 3: Folding Follow the instructions provided with the kit to fold each piece along the designated lines. This will give dimension to your church.
Step 4: Gluing Apply glue to the tabs and edges as directed by the kit instructions. Press the glued sections together firmly, holding them in place until the glue dries. Be patient – this is where the magic happens.
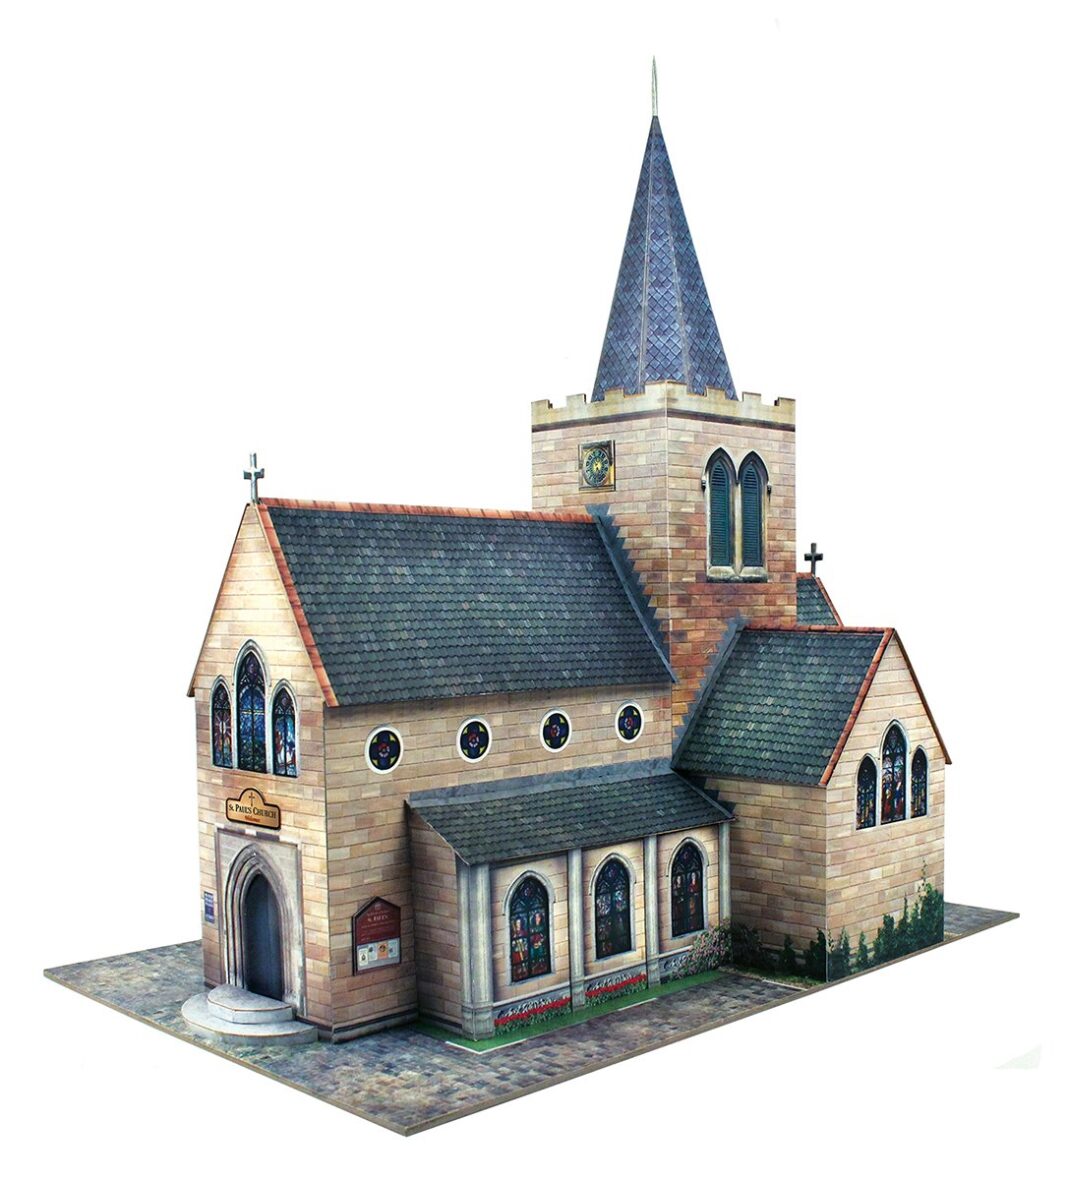
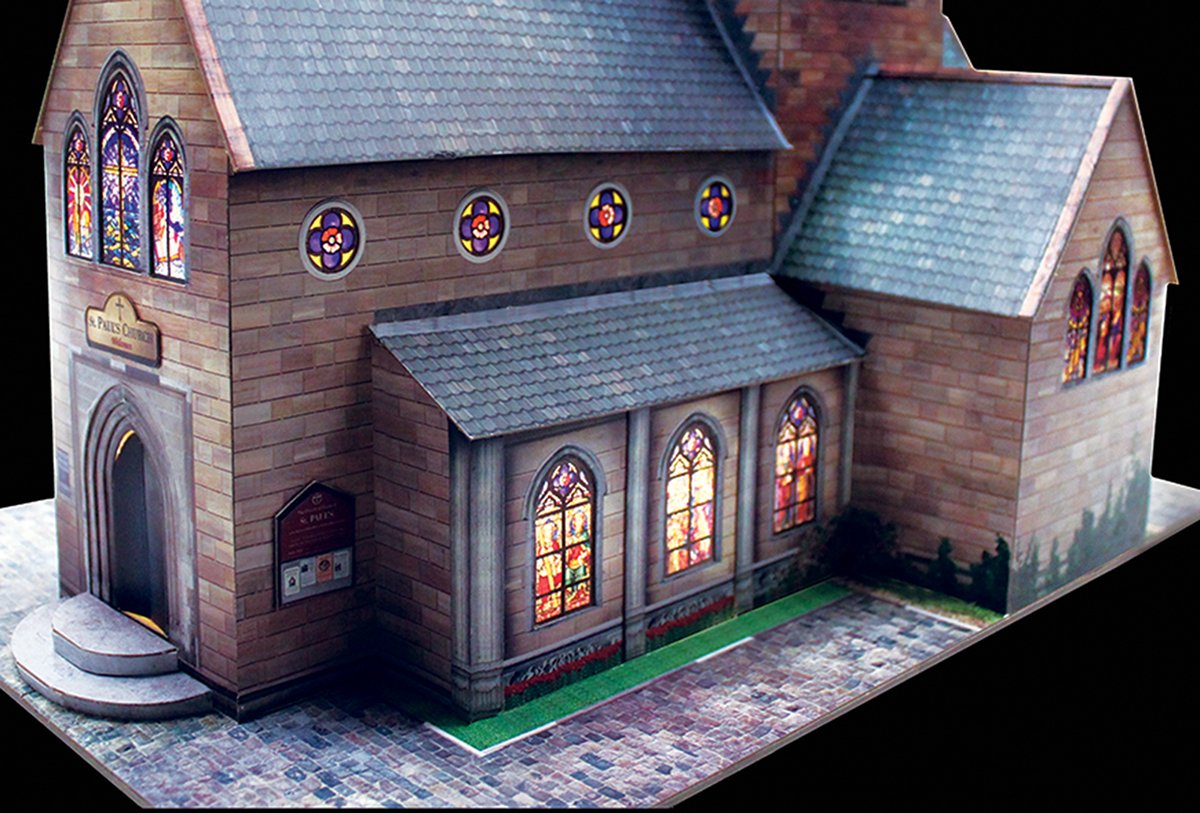
Step 5: Assembly Piece by piece, assemble your miniature church. Take note of any additional details or accessories that come with the kit, like stained glass windows or a miniature steeple.
Step 6: Optional Painting and Detailing If you want to add an extra layer of realism, consider painting the church. Choose colors that complement the overall aesthetic of your miniature city. Delicate detailing, like faux brick texture or tiny flower beds, can bring your model to life.
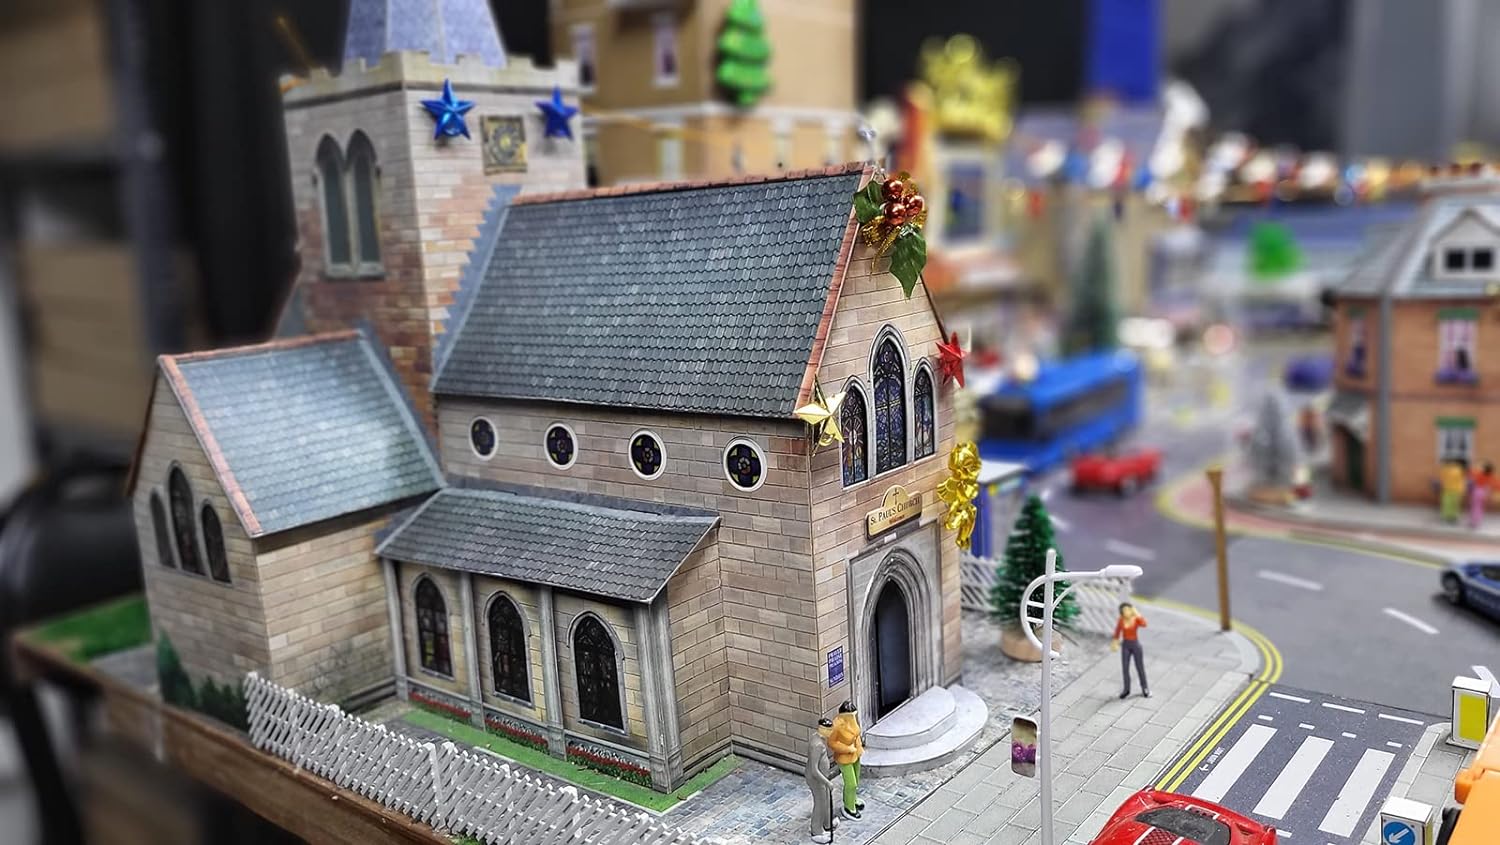
Step 7: Placement in the Miniature City Now that your church is complete, find the perfect spot in your miniature city layout. Consider the flow of the city and the visual appeal of having a tranquil church nestled among the bustling streets.
Step 8: Admire Your Creation Stand back and admire your handiwork. The miniature church adds a touch of charm and character to your city layout, creating a captivating scene for your collection of scale model cars, trucks, buses, airplanes, and trains.





Reviews
There are no reviews yet.